How to manage Domain with Route53
Introduction
When operating a website or application, the domain name is incredibly important. Choosing the right domain name and managing it appropriately are essential for building an online presence. Amazon Route 53 is a powerful tool for easily registering, configuring, and managing domains. In this instance, we will provide a step-by-step guide on how to manage domains using Route 53.
Steps
(1) Acquiring a Domain
First, click on the following URL and create a new account or log in:
From the “Services” menu at the bottom right, click on “Register a New Domain“.

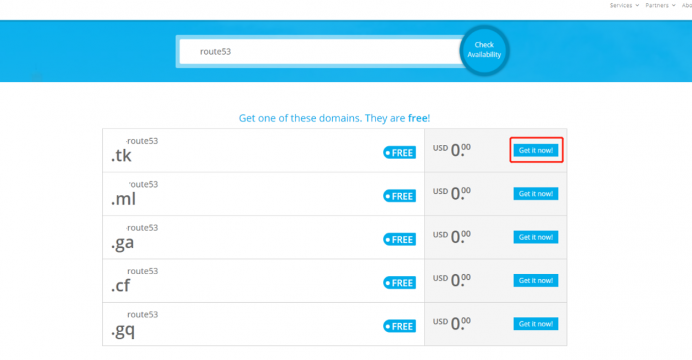
Enter any desired string of characters. Click “Check Availability” to verify its availability.

Select one available domain.
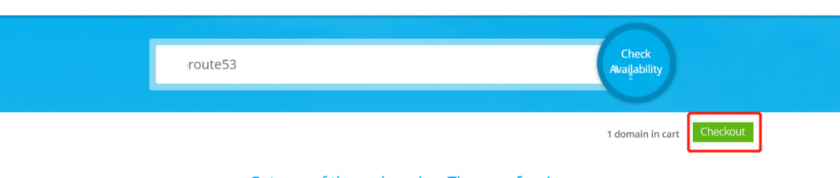
Click on “Checkout” at the bottom right.
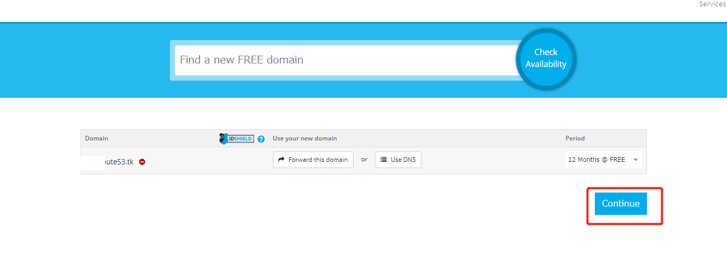
Once you’re on the following screen, click “Continue“.
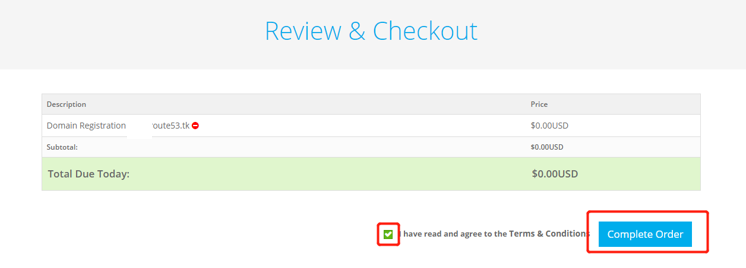
Double-check your selections and then click “Complete“.
(2) Associating the Acquired Domain with Route 53
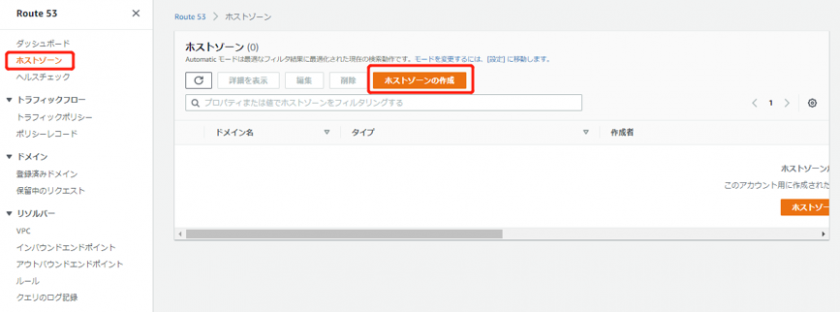
From the Route 53 dashboard, click on “Hosted Zones” and then click “Create Hosted Zone” to navigate to the screen for creating a hosted zone.
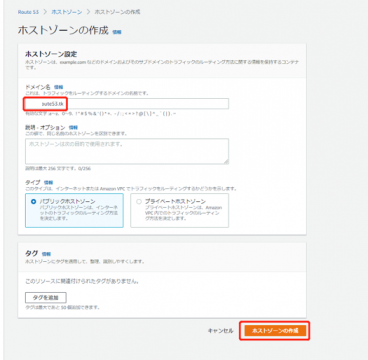
Enter the domain name you registered in step (1) into the “Domain Name” field, then click on “Create Hosted Zone” at the bottom right.
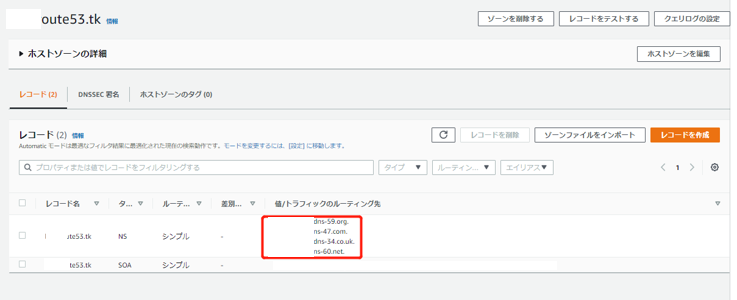
You will obtain the following four values
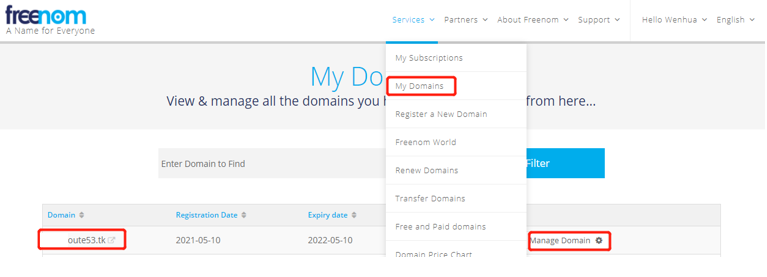
Go to the “Services” section on the freenom website and click on “My Domains“. Once selected, choose the domain you registered in step (1), then click on “Manage Domain” to navigate to the domain management screen.
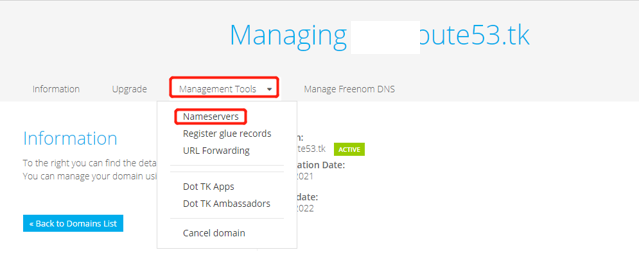
Click on “Management Tools” and then select “Nameservers” to access the screen for setting up nameservers.
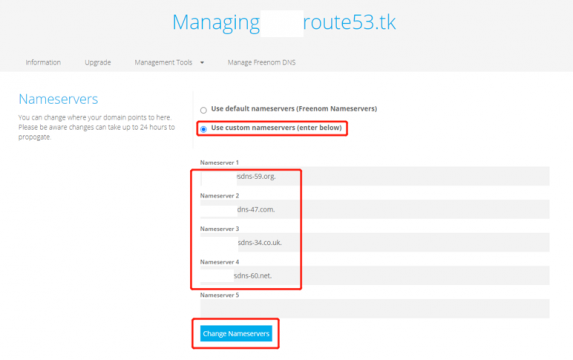
Select the “Custom Nameservers” option. After selecting, input the four values you obtained from the hosted zone (Name Servers) into the respective fields. Then click on “Change Nameservers“.
(3) Creating Records for ALB
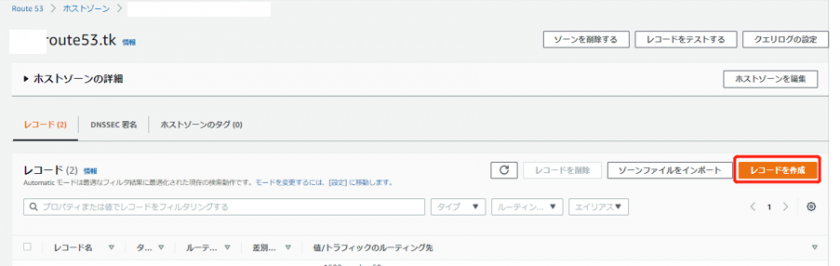
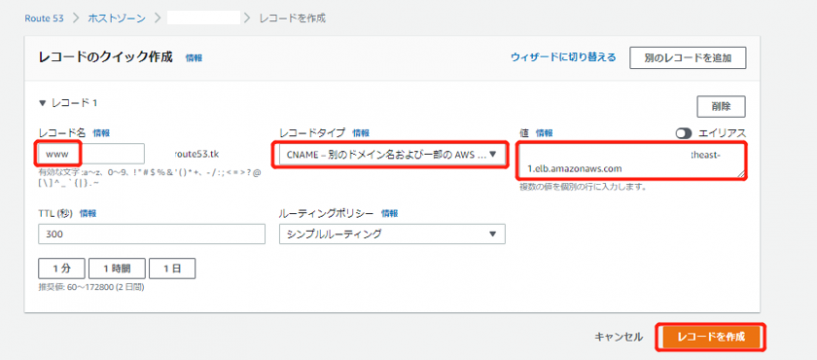
Go back to the AWS console and click on “Create Record“. This will take you to the screen for creating records.
Set a value of your choice in the “Record Name” field. Choose “CNAME” as the “Record Type“, and input the DNS of your ALB in the “Value” field. After configuring these settings, click on “Create Record“.
If you can access the domain in your PC’s browser and see the webpage from your web server, then everything is working as expected and the setup is complete.
Conclusion
In this guide, we provided detailed steps on effectively managing domains using Amazon Route 53. Accurate domain configuration is an essential element for the stability and reliability of websites and applications. By leveraging the capabilities of Route 53, tasks such as domain registration, DNS record configuration, subdomain management, security enhancement, and monitoring can be efficiently performed.

